WordPress can be run locally on your computer through the use of different types of open source software to host the content. The advantage of doing this is that it gives you the luxury to develop your site fully locally and after completion, it is available to export into your domain hosting.
There is no difference between running WordPress live or locally, as you will have access to the same privileges available on a live site. I’ve been using WordPress locally to design and edit my site because it’s convenient and there is no need to worry about my site visitors seeing the update or changes while I’m working on them.
Now that you’ve got an understanding of how to Press from your local machine, I’ll be sharing with you the open source software to achieve this and where to get them. There are quite a few of these software’s around but I will only share these, WAMP server and XAMPP server which I’ve used before. What these software’s does is that they create the database needed to run and host your website PHP files so you can conveniently design your site from your computer.
Note: This tutorial is done using WAMP which stands for Windows Apache Web Server. Now let’s begin the tutorial on how to get WAMP on your computer and install WordPress.
Step No. 1
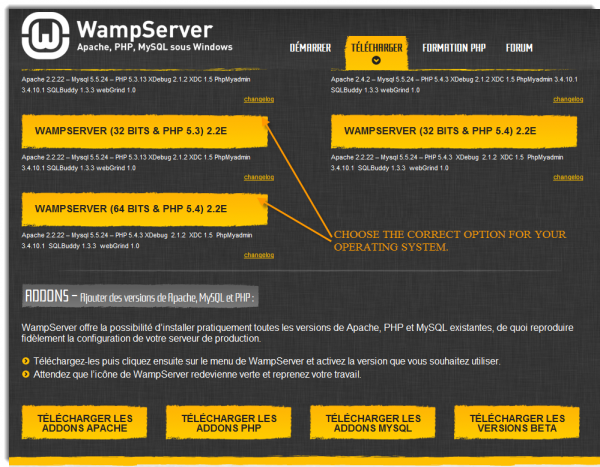
Go to WAMP server and download the software then open and select run to unzip the files. Keep in mind you will need to choose the version which is suitable for your computer. For example, if your machine is running on a 64 BITS operating system you will need to download that version and the same applies if you’re using a 32 BITS machine.
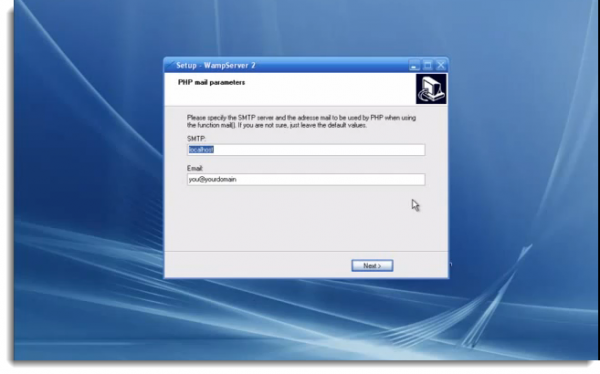
There will be a step in the installation which will ask you to choose your browser. When you get there just set it to the browser of your choice. After that, you will see the following screen just click next to finish the installation.
Step No. 2
Now that you’ve downloaded the software and installed it you should see a new ICON in your TASKBAR at the bottom right on your computer screen. You will need to right click on it and select start all services. This will get the different tools within the software up and running.
![]()
Step No. 3
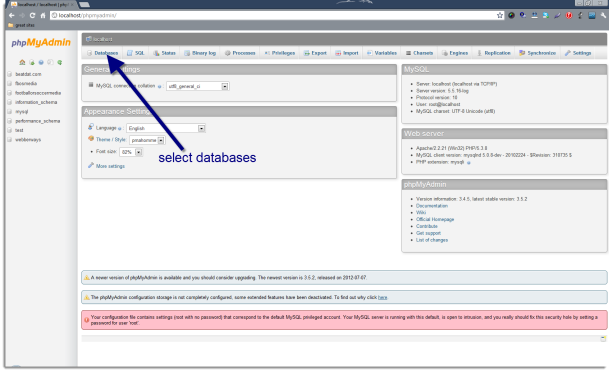
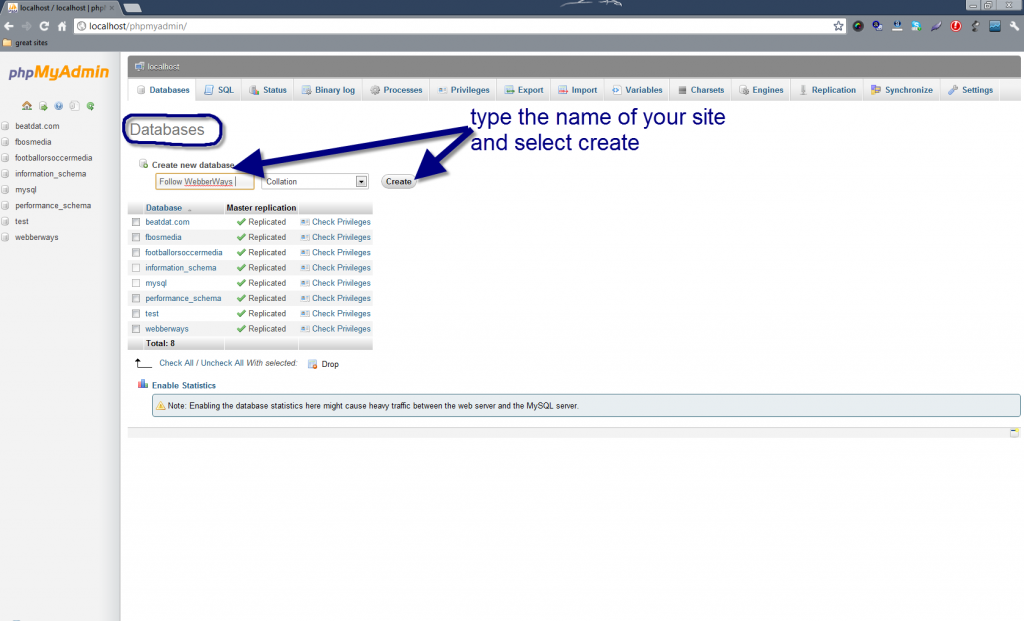
After completing step 2 you will need to right click again on the ICON and this time select phpMyAdmin to create your website database. Click on the database and create a new one by typing in the name of your site and press create. You will see the newly created database on the left. The screen will look similar to the one shown below.
Creating the database for your WordPress site.
Those few steps you’ve completed takes care of the setup needed to configure WAMP before installing the WordPress application. The remaining steps will cover installing the WordPress application itself.
Step No. 4
Go to wordpress.org and download the application and save to your computer. Locate the WAMP server icon in your taskbar and click on the WWW directory then go to the WordPress files you’ve downloaded and open it. You should see a folder called WordPress, copy that folder and paste it into the WWW directory of your WAMP Server database. Upon successfully completing this you’ve installed WordPress and now you can configure administrative settings.
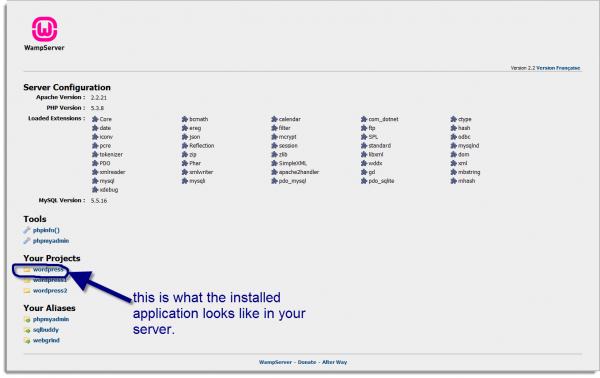
Step No. 5
In this step, you will set up your connection details for logging into your WordPress admin panel. Find the WAMP Server icon in your taskbar and select localhost, there you will see a message and a button to create the configuration files. Go ahead and select create and fill in the required details for your site.
Fill in the fields with the following information and then click submit:
- Database Name – Your website name
- User Name – Root
- Database Host – localhost
- Table Prefix – wp_
After completing this step you will see another message and a button to run the application, click on RUN and it will take you to the screen below to fill in your site title and login details.
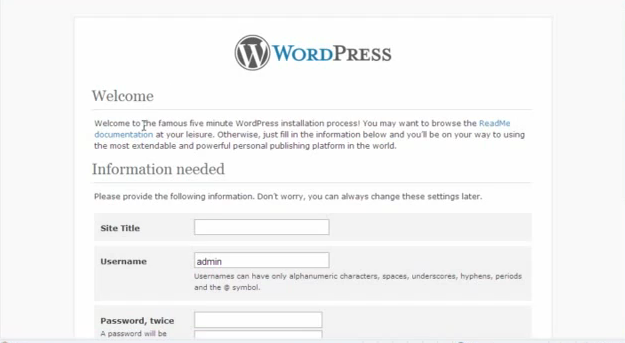
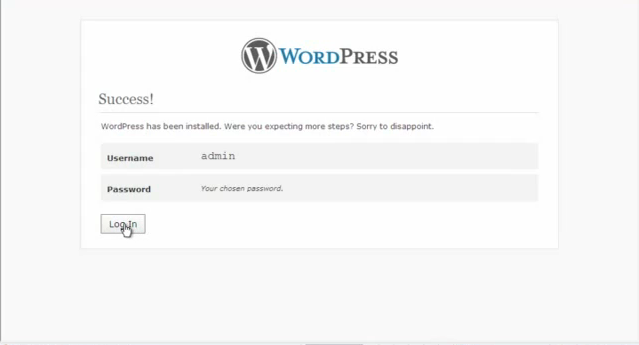
Upon completing this step you will be prompted with the last step required to finish the installation process. The next screen should look like the one below; all you need to do now is login and start using the application right from your computer.
Hope you all find this tutorial helpful. Also if anyone need help during the installation just leave a comment below and I’ll reply to your questions.
Enjoy!

